Manage toolbars
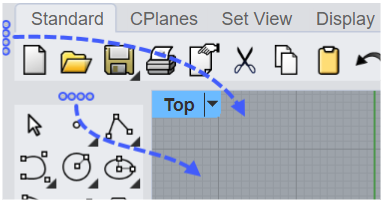
Rhino opens with the default toolbar layout. The default toolbar layout displays only some of the many Rhino toolbars. Most of the hidden toolbars can be opened from the toolbar buttons in the default toolbar layout. The toolbar in the left Sidebar may change when you click a toolbar tab that has another toolbar linked.
Open toolbars floating
-
Select the Window menu > Toolbars.
-
Select a Library.
The Library drop-down menu lists the default and linked rui files.
-
Select a toolbar name.
The toolbar will be opened in a floating container with the same name.
Add or remove toolbars on a container
-
Click the gear
 icon of a container > Show Toolbars.
 -
Select a rui file.
The RUI Files drop-down menu lists the default and linked rui files.
-
Check or uncheck the boxes in front of the toolbar names.
Open a toolbar from a button
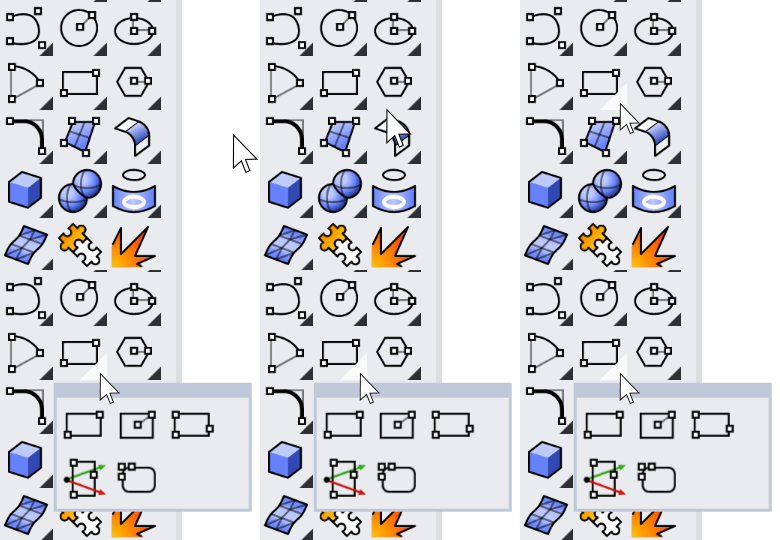
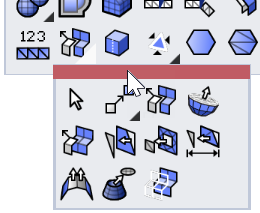
When a toolbar is linked to a button, the button shows a black triangle on the lower-right corner. The linked toolbar opens as a fly-out toolbar.
-
Click and hold the toolbar button, or click the black triangle.
Dock a floating container
-
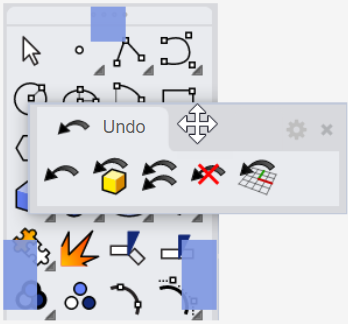
Drag the title bar of a floating container to a docked container.
Dock sites (blue squares) appear around the target container.
-
Drop the floating container on one of the dock sites.
Re-size a container
-
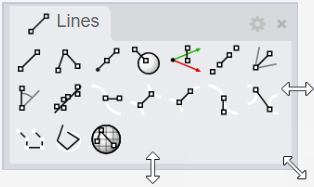
Move the mouse cursor to an edge or a corner of a container.
Notice that the cursor changes to an arrow icon.
-
Drag to re-size the container.
-
Use Size to Content on the container options menu
 to fit all buttons on a container.
Containers
A container may include multiple toolbars or panels as tabs. When a toolbar or panel is made floating, a new container is created with the same name.
Components of a container
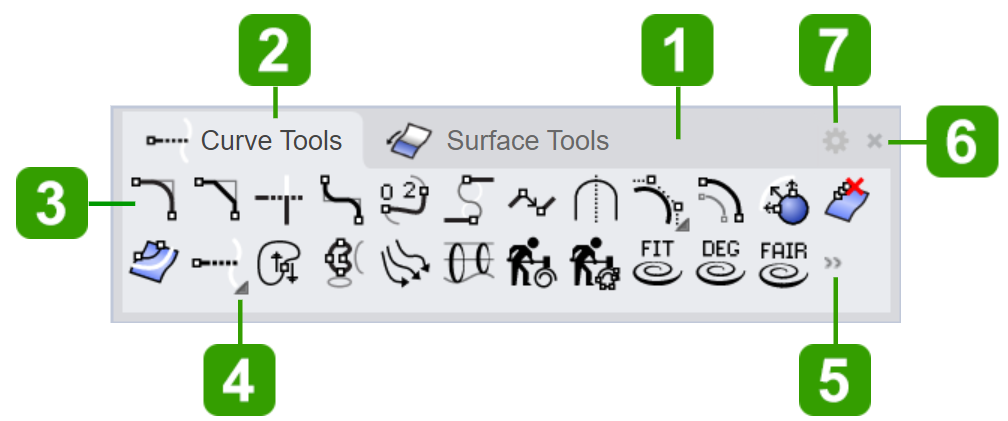
 Tab bar
Drag the tab bar to move the container to float at any position on the screen, or dock to an edge of the Rhino window or next to another docked container.
-
Right-click on the tab bar to show the container options menu.
 Tab
Tab
A tab can be a toolbar or a panel.
-
Right-click on a tab to open the tab menu.
Properties
Opens the Container Properties dialog box.
Close Tab: <Name>
Removes the tab from the container.
Closed tabs can be added back by:
- Selecting the Container options menu
 > Add or Remove Toolbar/Panel...
 - Using the Containers command.
-
Hover the mouse cursor over a tab and scroll through the tabs with the mouse wheel.
-
Tabs can be re-ordered or moved to another container by drag and drop.
 Toolbar button
A toolbar button is a graphical user interface element that stores commands, macros, or scripts for the right or left mouse button to run.
 Linked toolbar cascade button
When a toolbar is linked to a button, the button shows a black triangle on the lower-right corner. The linked toolbar opens as a fly-out toolbar.
-
Click and hold the toolbar button, or click the black triangle.

-
Dragging the top border of a flyout toolbar away creates a new floating container.
 Show more button
When a container is not large enough to show all the buttons on a toolbar, the >> button appears.
-
Click the Show more button and select a button name from the menu to run the command.
Linked toolbars on the menu open as sub-menus.
 Close button
Close the container.
Closed containers can be opened again using the Containers command.
When a container only has a tab, closing the container also delete the container.
 Options menu button
Open the container options menu.
Lock docked containers
Prevents the docked containers from being accidentally moved.
The Lock Docked Containers setting can be found in the container options ![]() menu, or in the Sizes and Styles options.
menu, or in the Sizes and Styles options.
Sidebar
"Sidebar" is a special container that displays an existing container according to the currently active toolbar tab. In the default workspace, if you click on the Curve Tools tab, the Curve drawing sidebar container will display in Sidebar.
To link a container to a tab as a sidebar
- Right-click on a toolbar tab and select Properties.
- In the Container Properties dialog box, click the
 button in the Sidebar section.
Restoring lost toolbars
If your toolbars are lost or become corrupted, they can be restored with the Reset command.
Warning
The Reset command replaces all custom containers and toolbars with the default set embedded in the Rhino APP.
Move a button
- Press and hold Shift.
- Click and drag the button to a different toolbar or to a different position on the same toolbar.
Delete a button
- Press and hold Shift.
- Click and drag the button off the toolbar.
Unlink a toolbar
- Press and hold Shift.
- Right-click the button with a linked toolbar.
- In the Button Editor dialog box, click the unlink button
 .
.
Add a new button
-
Click the container options icon
 .
. -
Select New Toolbar Button.
-
In Macro Library, select an existing macro item.
Or, click the button to create a new macro item.
Edit a button
- Press and hold Shift.
- Right-click the button to open Button Editor.
- Click the button image to open Macro Library.
- Click the Edit button.
