Hatch
| Toolbar | Menu |
|---|---|
|
|
Drafting Hatch |
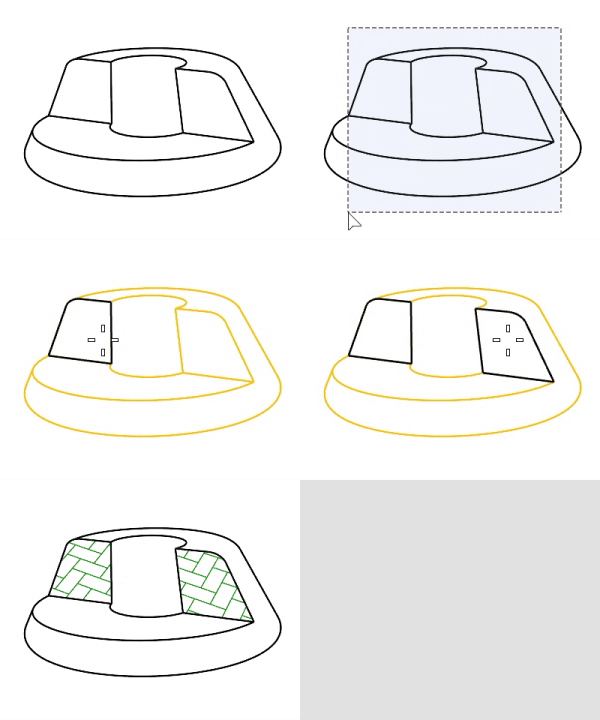
The Hatch command fills a pattern of lines within the selected bounding curves.
-
The input curves can be in model space or layout space or a combination of these.
-
Control points of hatches can be turned on so that the shape of the hatch can be adjusted.
-
Scaling a hatch does not change the pattern scale.
-
Holes in hatches can be removed by the UntrimAll command.
-
The print order of hatches, annotations, and geometries is decided by some rules.
To create hatches
-
Select a closed planar curve, a planar surface, or a hatch boundary.

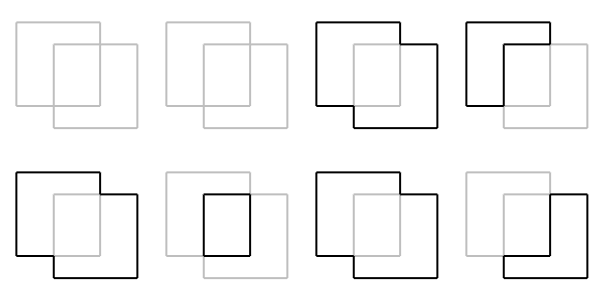
Or set Boundary=Yes in the command-line to select closed regions from intersected curves.
CombineRegions
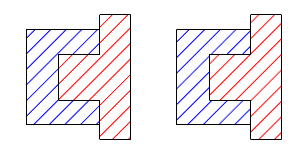
Determines whether selected regions combine to create a single hatch or separate hatches.
CombineRegions=Yes.CombineRegions=No.AllRegions
Creates a hatch from the outer boundary (left), or creates separate hatches from the sub-regions (right), based on the CombineRegions option setting.
- Specify the pattern, scale, rotation, and other settings in the hatch creation dialog.
Hatch creation options
Most of the settings in the hatch creation dialog can be edited in the Hatch properties.
Hatch Pattern
The hatch pattern names and preview thumbnails.
Base point
Displays the starting coordinates of the hatch pattern.
-
Click the button to pick the new location in the viewport by mouse.
 Use base point every time
Remembers the current base point for new hatches.
Rotation
The rotation angle of the pattern.
-
Click the button to pick the rotation angle in the viewport by mouse.
Hatches with History:
- Changing the pattern rotation angle will not break History.
- Rotating the hatch with its boundary curve will not break History. The pattern rotation angle will update.
- Rotating the hatch alone will break History.
Hatches without History:
- Rotating the hatch will update the pattern rotation angle.
Scale
The scale factor of the hatch pattern.
Background
The color fills the hatch boundary.
Display Color
The hatch pattern displays this color when Fill Style is set to Solid.
 Show Boundary
Displays the boundary curve around the hatch pattern.
 Select Boundary Region
Pick closed regions from intersected curves to create the hatch.
Gradient Settings
Fill Style
Fill styles set the hatch pattern to use a single color or different types of gradient colors.
Solid
Uses the display color set in object properties.
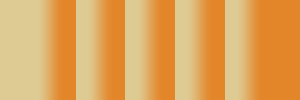
Linear Reflected
Uses linear gradient colors that mirror on repeat.
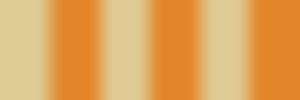
Linear Wrapped
Uses linear gradient colors that do not mirror on repeat.
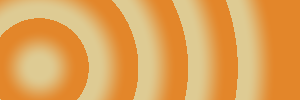
Radial Reflected
Uses radial gradient colors that mirror on repeat.

Radial Wrapped
Uses radial gradient colors that do not mirror on repeat.
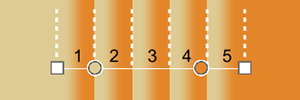
Repeat
Controls how many times the gradient span repeats between the start and end points.
Repeats do not extend beyond the start and end points.
-
Enter a number for the repeat value.
Gradient Stop Locations
A color stop defines a color at a percentage location in the gradient span.
Gradient controls
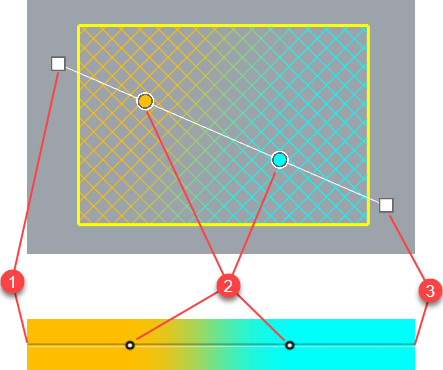
The gradient controls allow using more than one color in a hatch. The color transition is smooth between colors. Gradient controls can be edited in the dialog or viewports. The start (1) and end (3) points define the gradient span. Color stops (2) define colors in the gradient.
Actions in the dialog
-
Shift-click, or double-click, on a color stop to change the color.
-
Right-click on the gradient span to add a new color stop.
-
Click the , , or button to edit the gradient in the viewport.
 Reverse Gradient Colors
Reverses the colors of the gradient.
 Reset Gradient Boundary
Moves the start and end points on gradient controls in viewports to the default locations.
Add a new color stop to the gradient.
Steps
-
Select a color.
-
Pick a location in the viewport.
Alternative steps
-
Right-click on the gradient span in the dialog at the location to add a new color stop.
- Select a color.
Edit the gradient in the viewport with command-line options.
Select a color stop in the viewport to remove.
Change the hatch properties to match a different hatch.
Related commands
HatchPattern
|
Toolbar |
Menu |
|---|---|
|
|
Drafting Create Hatch Pattern |
The HatchPattern command creates a new hatch pattern from curves, deletes an existing hatch pattern, or imports hatch patterns from a .3dm or .pat file.
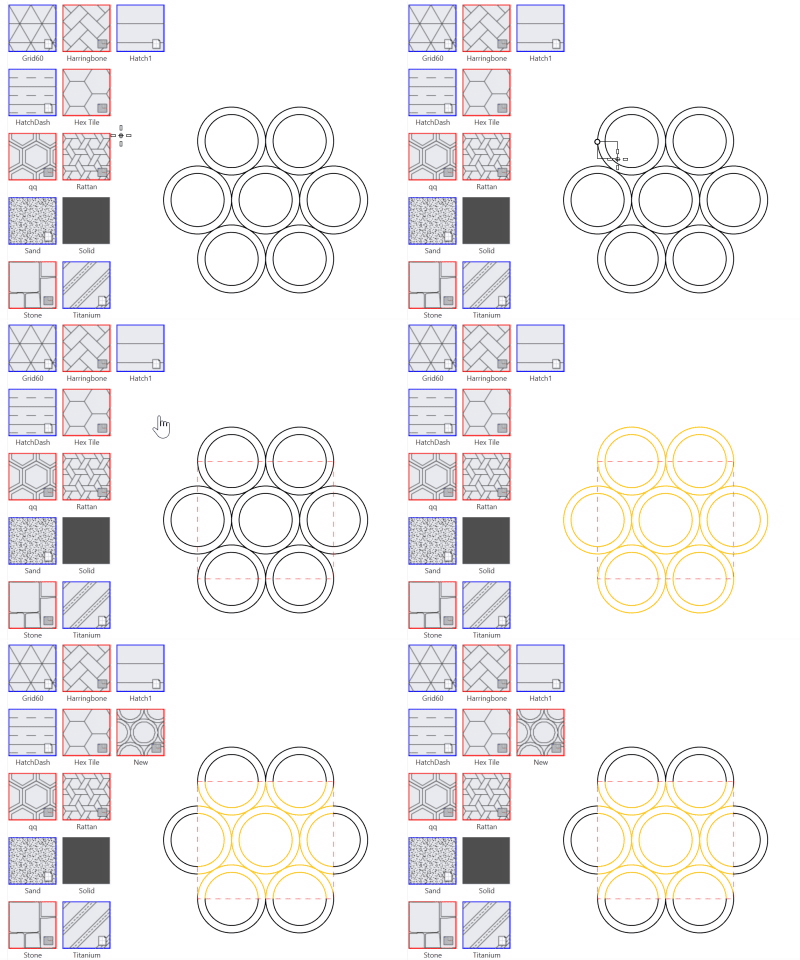
Command-line options
Add
Creates a new hatch pattern from selected curves.
Curves are converted into polylines in the new hatch pattern.
Steps
-
Draw a rectangle for the hatch pattern tile.
-
Select curves to define the hatch pattern.
-
Give the new hatch pattern a name.
Delete
Type the name of the hatch pattern to delete from the 3dm file.
If the name contains spaces, enclose it in double quotes.
For example: "Compact Fill".
Deleting a hatch pattern also removes all hatches in the model that reference it.
Import
Imports hatch patterns from a .3dm or .pat file.
| Toolbar | Menu |
|---|---|
|
|
|
The HatchBase command changes the starting point of the selected hatch objects.
| Toolbar | Menu |
|---|---|
|
|
|
The HatchScale command sets the scale factor of hatch patterns in model viewports.
- This command changes hatch scaling settings in document properties.
Steps
- Specify the hatch scale value.
Command-line options
Scaling
Enabled
-
Hatch patterns in model viewports are scaled by the HatchScale value.
-
Hatch patterns in detail views print with the same scale regardless of thezoom factor.
Disabled
Hatch patterns will not scale.
Toggle 
Changes the Scaling option between Enabled and Disabled.
See also
Hatch document properties
Manage the hatch settings for the current model.
