![]()
Render
Material Editor
Panels
Materials
| Toolbar | Menu | Panel Gear Menu |
|---|---|---|
|
|
Render Material Editor Panels Materials |
Materials |
The Materials command opens the Materials panel which specifies the color, finish, transparency, texture, and bump for use by the built-in Rhino renderer.
Materials can be dragged and dropped onto any Material, Texture, and Environment control.
Any number of materials can be stored in the model. Materials can be designed in-place in the material and environment editors by adding textures as child. Opening a floating preview allows visualization of the texture during its development.
Colors can be dragged from a color swatch and dropped onto a different color swatch.
Drag a texture from a texture field and drop it onto a different texture field to move. Hold the Ctrl key to copy.
Material Editor displays materials used by objects in linked 3dm files. The materials can be used in the current model, but they are not editable. Double-click a linked block to edit the materials in a new Rhino window.
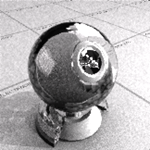
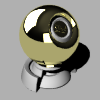
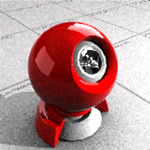
![]() Materials panel
Materials panel
The Materials panel has additional browsing tools.
Selects the previous item in the list.
Selects the next item in the list.
Displays the current item icon and name.
Limits the search to names.
Limits the search to notes.
Limits the search to tags.
Displays how 'name:', 'note:', 'tag:', '?', '#' and '^' are used for searching items.
Displays the Tools menu.
Imports a material (.rmtl) from the Render Content library folder.
Creates a new material. Choose a material type to use as a template.
Creates a new custom material.
Custom materials have all possible settings available in the editor.
Creates a new gem material.
Creates a new glass material.
Creates a new metal material.
Creates a new paint material.
Creates a new picture material.
Creates a new plaster material.
Creates a new plastic material.
Opens the content type browser to see more options for creating a new material.
Render materials are assigned using the current rendering plug-in application.
This option appears only if there is a rendering plug-in loaded.
Changes the material properties to match a different object.
Add multiple categories or descriptions that can be used to search for materials in the libraries.
Assign
Rename
Library
Color
GlossColor
GlossFinish
Transparency
TextureMap
TransparencyMap
BumpMap
EnvironmentMap
Match
The name of the material.
Sets the material type.
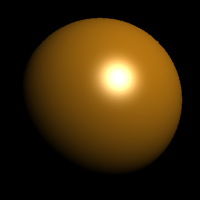
The default material is white and matte, with no reflectivity or transparency.
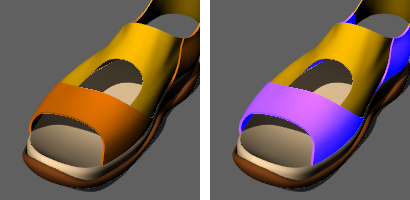
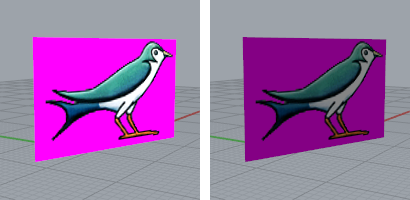
The Color control sets the material's base (also called diffuse) color.
The color used to render surfaces, polysurfaces, or polygon meshes.
The color option does not affect the select wireframe display. To change the color of the wireframe display, change the color of the object's layer or set the color in Object Properties.
You can drag the color swatch to a folder to create a Rhino color file.
Click the color swatch to select a color from the Select Color dialog box.
Click the menu arrow or right-click the swatch to open the context menu.
The menu items displayed are based on the material types.
Open the Select Color dialog box.
Allow picking the color from anywhere on the screen.
Copy the color in the color swatch.
Paste the color from one color swatch to another.
Select a texture as the material color.
Replace the current texture with a different one.
Change the texture properties.
Delete the texture, so the material displays the base color.
In the edit box, specify the percentage of strength the color.
The Gloss finish control adjusts the highlight from matte to glossy and sets the color of the glossy area.
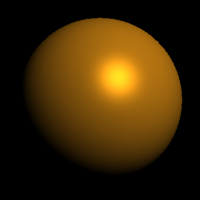
The Reflectivity setting sets the material's reflectivity amount and sets the reflective color.
Adjusts the transparency of an object in the rendered image.
This value defines the bending of a ray of light when it travels from a transparent material into another.
Example IOR values are shown in the following table:
|
Material |
IOR |
|---|---|
| Vacuum | 1.0 |
| Air | 1.00029 |
| Ice | 1.309 |
| Water | 1.33 |
| Glass | 1.52 to 1.8 |
| Emerald | 1.57 |
| Ruby/Sapphire | 1.77 |
| Diamond | 2.417 |
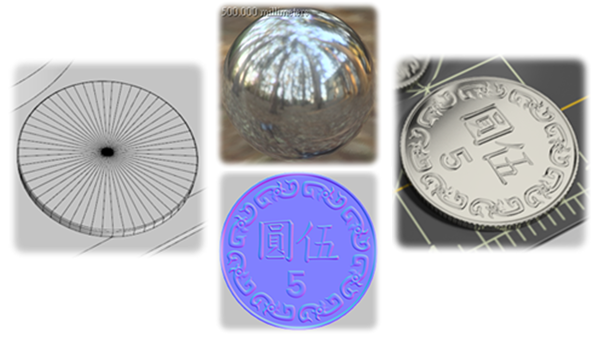
Textures (images or procedural textures) can be used for color, transparency, bump, and environment.
Rhino supports the following file formats:
Transparency is not supported in these formats:
Transparency is supported in these formats:
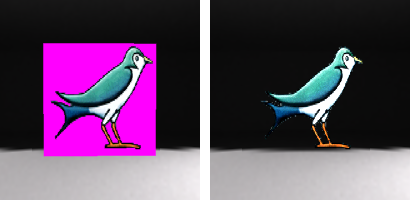
Specifies a texture to use as the material's color.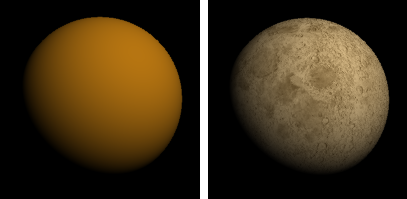
Note: Texture colors override mesh vertex colors. Reducing texture opacity blends texture colors with vertex colors.
Sets a texture to use as the material's transparency.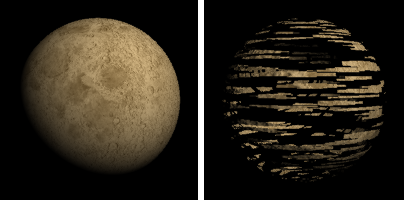
Sets a texture to use as the material's Bump or Normal map depending on the loaded image.
Bump and Normal maps add details to surfaces in rendering without modifying the shape of the surface.
Uses grayscale values of an image to make a surface appear bumpy.
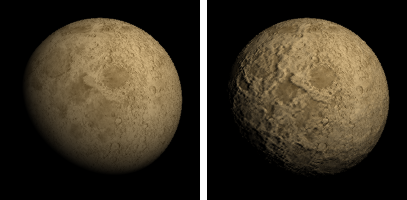
Uses RGB values to represent the x, y, and z coordinates of surface normals.
Sets a texture to use as the material's environment. This will be mapped onto the surface as though it were being reflected.
The image should be an angular map or light probe projection (spherical) image. Other image projections will produce the reflection effect, but it will be distorted and not produce the realistic environment reflection.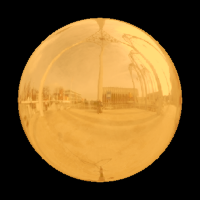
Allows the material to render the diffuse color with shadowing and shading by enabling diffuse lighting.
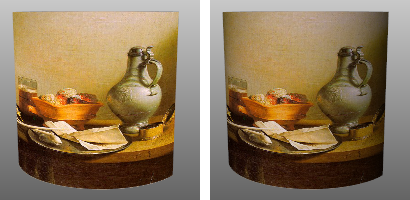
If this setting is on, the object renders with shadowing and shading.
If this setting is off, the object will render the diffuse color all over with no shadowing or shading. Turning this setting off ensures that the color the texture of picture frames remains constant over the surface.
Causes objects to reflect fully at glancing angles and only slightly reflect when the object is seen head on.
This effect simulates many transparent or semi-transparent materials, such as glass, plastic, and materials that have a thin transparent glaze, such as laminated paper, polished woods, and paint.
Allows images with an alpha channel for transparency to make the object transparent in the areas of the image where the alpha channel is applied.
Makes the surface reflections fuzzy. For surfaces that are perfectly reflective, such as mirrors and chrome, use 100% polish. Lower values model materials like certain plastics and the sanded surface of frosted glass.
Changing this setting can increase rendering time.
Controls the clarity of the material.
Creates translucent materials like tracing paper or hand-made glass.
Changing this setting can increase rendering time.
Creates clear materials such as water, float glass, and diamonds.
Adds a color to the shaded result. It does not take into account the lighting, so if the emission color is white, the object will always appear white. If the emission color is gray, all parts of the object will appear brighter than they would otherwise.
The preset Gem materials offer a choice of preset gems. Other settings are pre-determined by the gem type.
Amber |

Amethyst |
Aquamarine |
Diamond |

Emerald |

Ruby |

Sapphire |
|
The preset Glass material type allows the Color, Frost, and index of refraction settings to be modified. Other settings are pre-determined.
Sets the diffuse color.
Sets the Transparency clarity.
Sets the index of refraction.
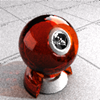
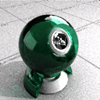
The preset Metal material allows the Color and Polish to be modified.
Other settings are pre-determined by the metal type.
Brass |

Bronze |

Chrome |

Copper |

Gold |

Gold (Yellow) |

Platinum |

Silver |

Stainless steel |

Steel |

Titanium |
Sets the diffuse color.
Common metal colors are presented in the limited palette.
Sets the Reflection polish.
Sets the texture style for the bump from a limited list.
Sets the size of the bump pattern.
The preset Paint material allows the Color and Glossiness to be modified.
Sets the diffuse color.
Sets the Fresnel reflectivity and Reflection polish.
The preset Picture materials place a single image on an object using surface mapping.
The Picture material allows the image file, the Self-illumination, Grayscale, and Transparency settings to be modified.
Note: Tiling cannot be modified for a picture texture.
See also Bitmap Texture.
Sets the image file to be used.
Turns self-illumination on.
Sets the image to grayscale.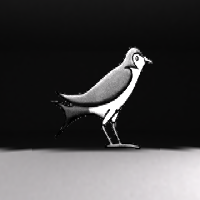
Sets the transparency of the image.
Uses the alpha channel in the image to set the transparency.
Uses a specific color in the image to set the transparency.
The transparency in the image also makes the object to which the material is applied transparent in the areas covered by the color or alpha channel transparency.
The preset Plaster material is the default matte, non-reflective, untextured material. Only the Color can be changed.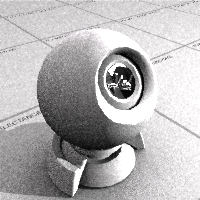
Sets the diffuse color.
The preset Plastic material allows the Color, Reflectivity, Polish, Transparency, and Clarity to be changed.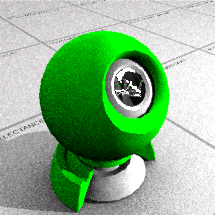
Sets the diffuse Color.
Sets the Reflectivity.
Sets the Transparency.
Sets the Transparency clarity.
Sets the texture style for the bump from a limited list.
Sets the size of the bump pattern.
Render content (materials, environments, and textures) are stored in models. They can also be saved to files and shared across models. The Libraries panel displays the default content folder. Content can be dragged and dropped between Rhino sessions or between a Rhino window and a disk folder.
| Command-line options | |
|---|---|
|
ShowPanel=Yes / No / Toggle |
Displays the Materials panel. |
|
Options |
Displays command-line options. AddDeleteRenameChangeDuplicateLoadFromFileSaveToFileAssignToObjects |
 Snapshots
The Snapshots command saves and restores Named Views, Named Positions, Layer States, as well as rendering settings, object settings including locked/hidden state, display mode, material, position, light settings, curve piping, displacement, edge softening, shutlining, and thickness.
Rhino detects material, environment and texture name conflicts in the following file operations:
When a render content item name already exists in the current model, but the content settings are different, the conflicted item will be imported with "[imported]" appended to its name.
Materials and texture mapping in Rhino 6 for Windows
Rhinoceros 6 © 2010-2020 Robert McNeel & Associates. 11-Nov-2020