![]()
Edit / Panels
Object Properties
Properties
F3
| Toolbar | Menu | Panel Gear Menu | Shortcut |
|---|---|---|---|
|
|
Edit / Panels Object Properties |
Properties |
F3 |
The Thickness properties construct a mesh offset based on the object's render mesh.
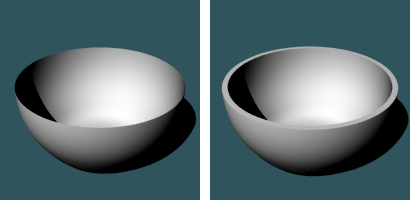
Manages thickness properties for the selected objects.
Turns the thickness display on and off.
Sets the thickness distance.
Moves the mesh a specified distance from the existing geometry.
Fills the edges between the original and new mesh to create a closed mesh.
Draws the object on both sides of the object, creating the thickness twice as thick as you indicate.
Render mesh modifiers are applied in the following order:
 Snapshots
The Snapshots command saves and restores Named Views, Named Positions, Layer States, as well as rendering settings, object settings including locked/hidden state, display mode, material, position, light settings, curve piping, displacement, edge softening, shutlining, and thickness.
Rhinoceros 6 © 2010-2020 Robert McNeel & Associates. 11-Nov-2020