![]()
View and Layout Title
Layout >
New Layout
| Toolbar | Menu |
|---|---|
|
|
View and Layout Title Layout > New Layout |
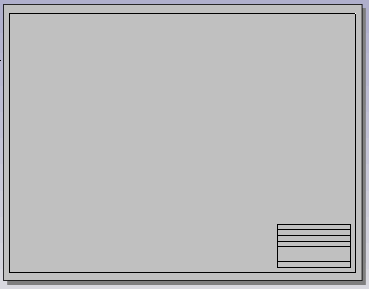
The Layout command creates a print layout viewport.
A layout viewport represents the sheet of paper that will be sent to a printer or a file such as PDF. Layouts can include various views of the model and annotations like title blocks and notes.
Two types of viewports provide different functions: model viewports and layout viewports.
In model viewports, create your surface or solid model using the appropriate units and precision.
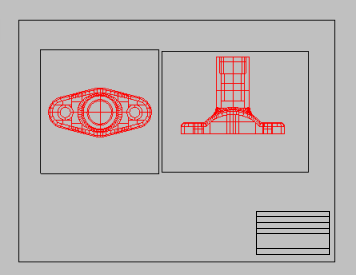
In layout viewports, place one or more details of your model and add information that annotates the printed sheet, such as manufacturing notes, bill of materials, general notes, title blocks, seals, and scale bars.
These viewports are accessible on the tabs at the bottom of the modeling area. The ViewportTabs command turns the tabs on and off.
Layout viewports contain detail viewports that...
display different views of the model.
have viewport properties that can be accessed when a detail is made active.
have object properties that can be accessed when a detail is selected.
The color, width... of the detail viewport edge including No Print are set in object properties.
are created on the current layer.
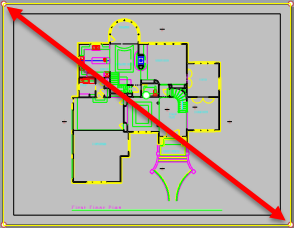
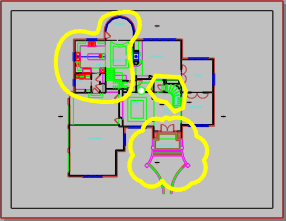
can only be rectangular. To define your own shape...
New Layout
The layout viewport name.
See: Naming conventions in Rhino
Select the target printer from the list of configured printers.
Select a supported paper size from the list.
Sets the orientation.
Sets the size of the paper as well as the width (x length) and height (y length) of the layout. If the paper size is not supported by the selected printer, the Printer setting will be disabled.
Units for the paper size. If the selected unit is different from Document Layout Unit, the selected unit will be converted.
The number of details to start with.
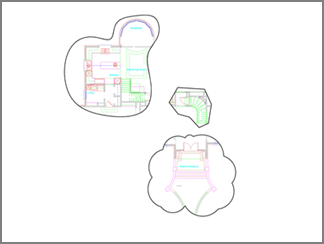
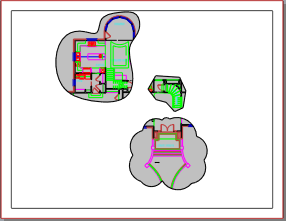
You can make details of any shape using a solid white hatch in the layout.
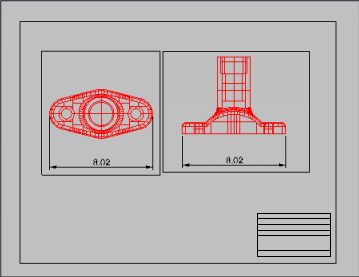
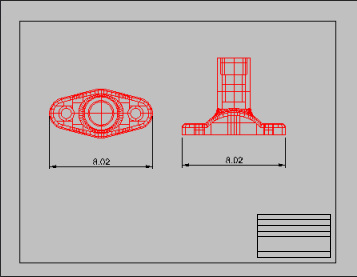
In Layout viewports, objects in detail views are annotated with the model space distance.
In this example, the blue circle is in the layout viewport. Its radius is annotated as 10 units (the layout space distance). The red circle is in a detail viewport. Its radius is annotated as 100 units (the model space distance) whether the radius dimension is created in the detail viewport or the layout viewport.
| Toolbar | Menu |
|---|---|
|
|
|
The ChangeSpace command moves or copies objects between layout and detail viewports. This command only works in layout viewports that at least have a detail view.
| Command-line option | |
|---|---|
|
Copy |
Specifies whether or not the objects are copied. The RememberCopyOptions command determines whether the selected option is used as the default. |
| Toolbar | Menu | Shortcut |
|---|---|---|
|
|
File > Import From File > Layouts From 3dm File View Layout > Import |
|
The ImportLayout command imports one or more layouts from a Rhino file into the current Rhino model.
This allows defining standard title block pages in a single file and importing those pages into other Rhino files.
When multiple layouts exist, right-click to check one and clear all the others.
| Toolbar | Menu |
|---|---|
|
|
|
The CopyLayout command copies the active layout to a new layout.
| Toolbar | Menu |
|---|---|
|
|
|
The LayoutProperties command opens the Layout Properties dialog box.
The layout viewport name.
See: Naming conventions in Rhino
Select the target printer from the list of configured printers.
Select a supported paper size from the list.
Sets the orientation.
Sets the size of the paper as well as the width (x length) and height (y length) of the layout. If the paper size is not supported by the selected printer, the Printer setting will be disabled.
Units for the paper size. If the selected unit is different from Document Layout Unit, the selected unit will be converted.
Rhinoceros 6 © 2010-2020 Robert McNeel & Associates. 11-Nov-2020
