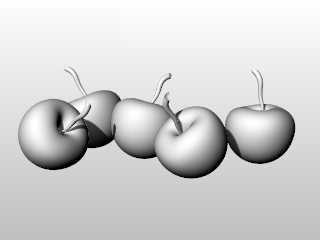
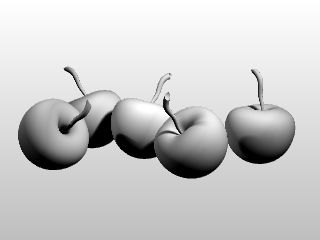
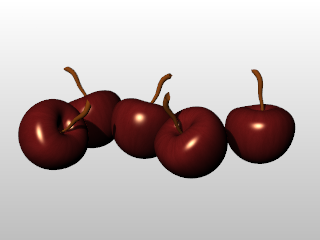
In addition to shaded previews, Rhino provides full-color rendering with lights, transparency, shadows, textures, and bump mapping.
Objects will render white until you add render color, highlight, texture, transparency, and bumps. These attributes are controlled through the Properties panel, Material page.
The process needed to render scenes consists of four basic steps:
| ● | Add lighting |
| ● | Assign materials |
| ● | Set up the environment and ground plane |
| ● | Render |
Although the steps do not have to be done in this order, using this method seems to make setting up a scene more efficient. To improve quality, repeat these steps until the image looks right to you.
In every Rhino rendering there are light sources that Rhino uses to calculate how the objects are to be illuminated. If you do not add any light sources to your scene, the default light is used. The default light is a directional light with parallel rays that acts as though you have a lamp shining over your left shoulder.
![]() Add indoor lights
Add indoor lights![]() sun
sun
| 4 | Insert Spotlights, Directional Lights, Linear Lights, Point Lights, or Rectangular Lights. |
| 4 | Or turn on the Sun. |
Materials specify the color, finish, transparency, texture, and bump for use by the renderer.
![]() Assign materials to layers
Assign materials to layers
| 1. | In the Layers panel, select one or more layer names, and click in the Material column. |
| 2. | In the Layer Material dialog box, set up material properties. |
![]() Assign materials to objects
Assign materials to objects
| 1. | Select an object. |
| 2. | On the Edit menu, click Object Properties. |
| 3. | In the Properties panel, Material page, set up material properties. |
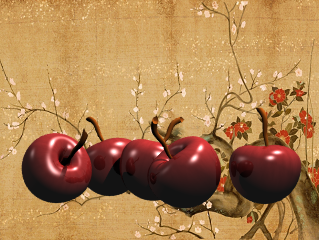
Environments describe the space around the model. This space is reflected in objects and can provide overall lighting.
![]() Set up the rendering environment
Set up the rendering environment
The rendering properties include environment settings like background color and image.
| 1. | Open the Environment Editor panel. |
| 2. | Set up environment properties. |
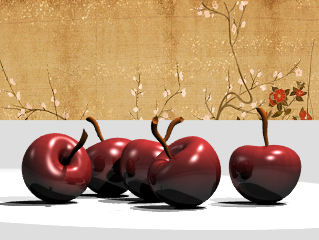
The ground plane provides an infinite horizontal platform for the image that stretches to the horizon in all directions positioned at a defined elevation. A ground plane renders much faster than using a surface as a background. Any material can be assigned to the ground plane.
Render and save an image.
![]() Render and save the image
Render and save the image
| 1. | On the Render menu, click Render. |
| 2. | In the Render Window, on the File menu, click Save As. |