The PictureFrame command draws a rectangular planar surface with the specified image assigned to its material and sets the object to Rendered display mode similar to using the SetObjectDisplayMode command.
Steps
| 1. | Select a bitmap file. |
Note: File types accepted are:
| ● | JPEG (.jpg; .jpeg) |
| ● | PNG (.png) |
| ● | PCX (.pcx) |
| ● | Targa (.tga) |
| ● | TIFF (.tif; .tiff) |
| ● | Windows Bitmap (.bmp) |
| 2. | Pick a corner of the plane. |
| 3. | Pick or type the length. The plane retains the same aspect (length to width) ratio as the image. |
Note: Edit PictureFrame objects with the object's Material Properties.
Command-line options
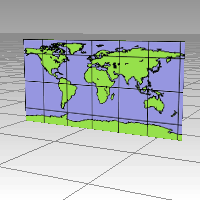
Vertical
The Vertical option draws the picture frame plane vertical to the current construction plane.
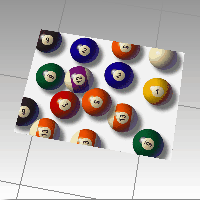
SelfIllumination=Yes/No
The SelfIllumination option causes the image to always display at full intensity and is not affected by light or shadow.
Self-Illumination off (left), and on (right).
EmbedBitmap=Yes/No
The EmbedBitmap option stores the image in the .3dm file. This increases the file size, but ensures that the image is always available to the picture frame surface.
Autoname=Yes/No
The Autoname option automatically assigns the image name to be the Material property for the picture frame surface.
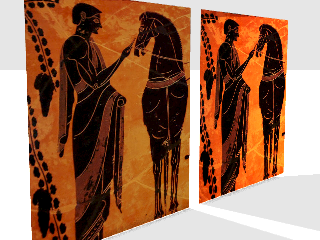
AlphaTransparency=Yes/No
The AlphaTransparency option uses the image alpha channel transparency to either show the object color through the transparency or to make the object transparent.

AlphaTransparency=No (left) and AlphaTransparency=Yes (right).
See also
Rhinoceros 5 © 2010-2015 Robert McNeel & Associates. 17-Sep-2015
