![]() Open the tutorial model
Open the tutorial model
| 4 | Open the tutorial model file Toolblock.3dm and then click Open.
|
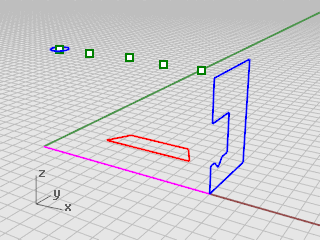
This example shows how to use Rhino to model a simple mechanical part.
You will learn to create a layout with a title block for printing.
![]() Open the tutorial model
Open the tutorial model
| 4 | Open the tutorial model file Toolblock.3dm and then click Open.
|
Use a layout to arrange the 2-D lines for printer.
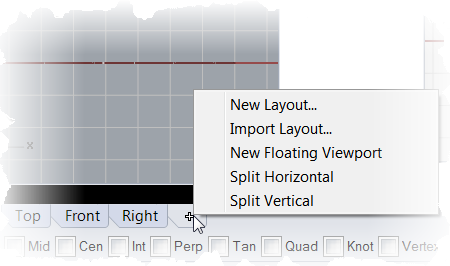
![]() Add viewport tabs
Add viewport tabs
| 1. | On the Viewport tabs, click the Add new tab ( |
| 2. | On the menu, click New Layout.
|
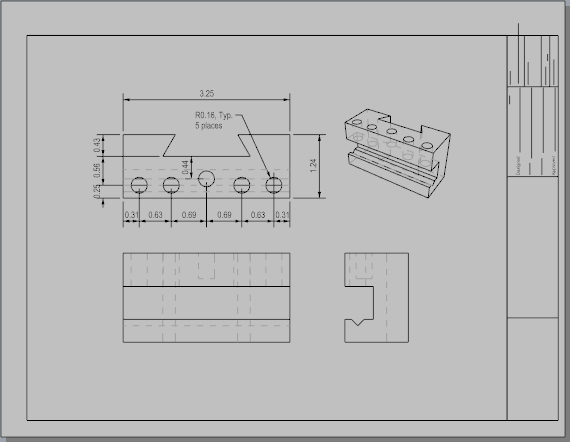
| 3. | In the New Layout window, select the following: Orientation = Landscape Width = 11 inches Height = 8.5 inches Initial Detail Count = 1 Page 1 will appear in the viewport tabs.
|
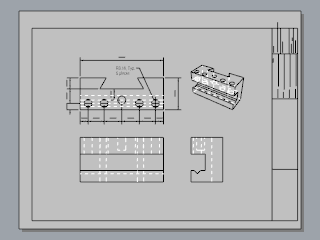
In this section you will add a title block and re-size the detail to fit.
![]() Set up the layers
Set up the layers
| 1. | In the Layers panel, make the Title Block layer current. |
| 2. | Confirm that you are in layout space. |
![]() Insert the title block
Insert the title block
| 1. | On Edit menu, click Block > Insert Block Instance. |
| 2. | From the name list, select Ansi_A_TB. |
| 3. | Under Insertion point, check the Prompt box, and click OK. |
| 4. | Select the detail. |
| 5. | On the Edit menu click Control Points > Control Points On (F10).
|
| 6. | Drag the control point in the lower left corner to re-size the detail to fit in the title block. |
| 7. | Press the Esc key to turn off the control points. |
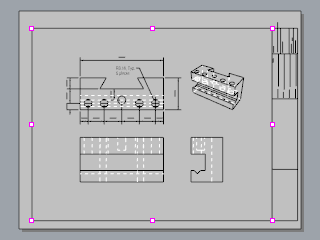
![]() Lock the detail view
Lock the detail view
| 1. | Select the detail. |
| 2. | On the Edit menu, click Object Properties (F3). |
| 3. | In the Properties panel on the Detail page, under Scale, set the inches on page and inches in model to 1.0. |
| 4. | Check the Locked box This prevents future panning and zooming so the details stays the correct size. |
![]() Add print widths
Add print widths
| 1. | In the status bar, right-click the Layer pane to open the Layer panel. |
| 2. | Click Default in the PrintWidth column, and set the values to the following: Dimension = .35 Title Block = .5 Make2D > visible > lines = .70 The layout view displays a preview of the print widths as they will appear on the printed page.
|