![]()
Render
Render
| Toolbar | Menu |
|---|---|
|
|
Render Render |
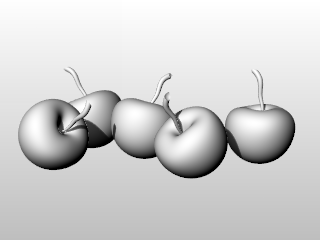
The Render command renders the model using the current renderer producing a color image in a separate display window.
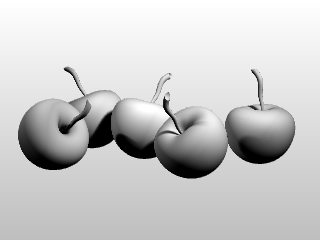
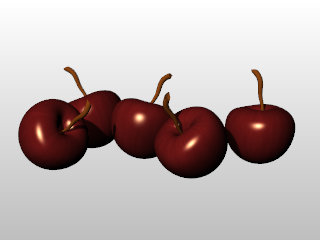
In addition to shaded previews, Rhino provides full-color rendering with lights, transparency, shadows, textures, and bump mapping.
Objects will render white until you add render color, highlight, texture, transparency, and bumps. These attributes are controlled through the Properties panel, Material page.
The process needed to render scenes consists of four basic steps:
Although the steps do not have to be done in this order, using this method seems to make setting up a scene more efficient. To improve quality, repeat these steps until the image looks right to you.
In every Rhino rendering there are light sources that Rhino uses to calculate how the objects are to be illuminated. If you do not add any light sources to your scene, the default light is used. The default light is a directional light with parallel rays that acts as though you have a lamp shining over your left shoulder.
Materials specify the color, finish, transparency, texture, and bump for use by the renderer.
The CopyRenderWindowToClipboard command copies the image in the render window to the Clipboard.
| Toolbar | Menu |
|---|---|
|
|
|
The RenderInWindow command renders a selected area of the current viewport in the render window at viewport resolution.
| Toolbar | Menu |
|---|---|
|
|
Render Render Preview |
The RenderPreview command renders the current viewport in the render window at render resolution, optimizing render time.
| Toolbar | Menu |
|---|---|
|
|
|
The RenderPreviewInWindow command renders a selected area of the current viewport in the render window at render resolution, optimizing render time.
| Toolbar | Menu |
|---|---|
|
|
|
The RenderPreviewWindow command renders a selected area of the current viewport in the viewport at viewport resolution, optimizing render time.
| Toolbar | Menu |
|---|---|
|
|
|
The RenderWindow command renders a selected area of the current viewport in the viewport at viewport resolution.
Rhino for Mac © 2010-2017 Robert McNeel & Associates. 24-Oct-2017